HACK NOW

Breaking

Tuesday, May 1, 2018

May 01, 2018

How to hack ATM new update || may 2018


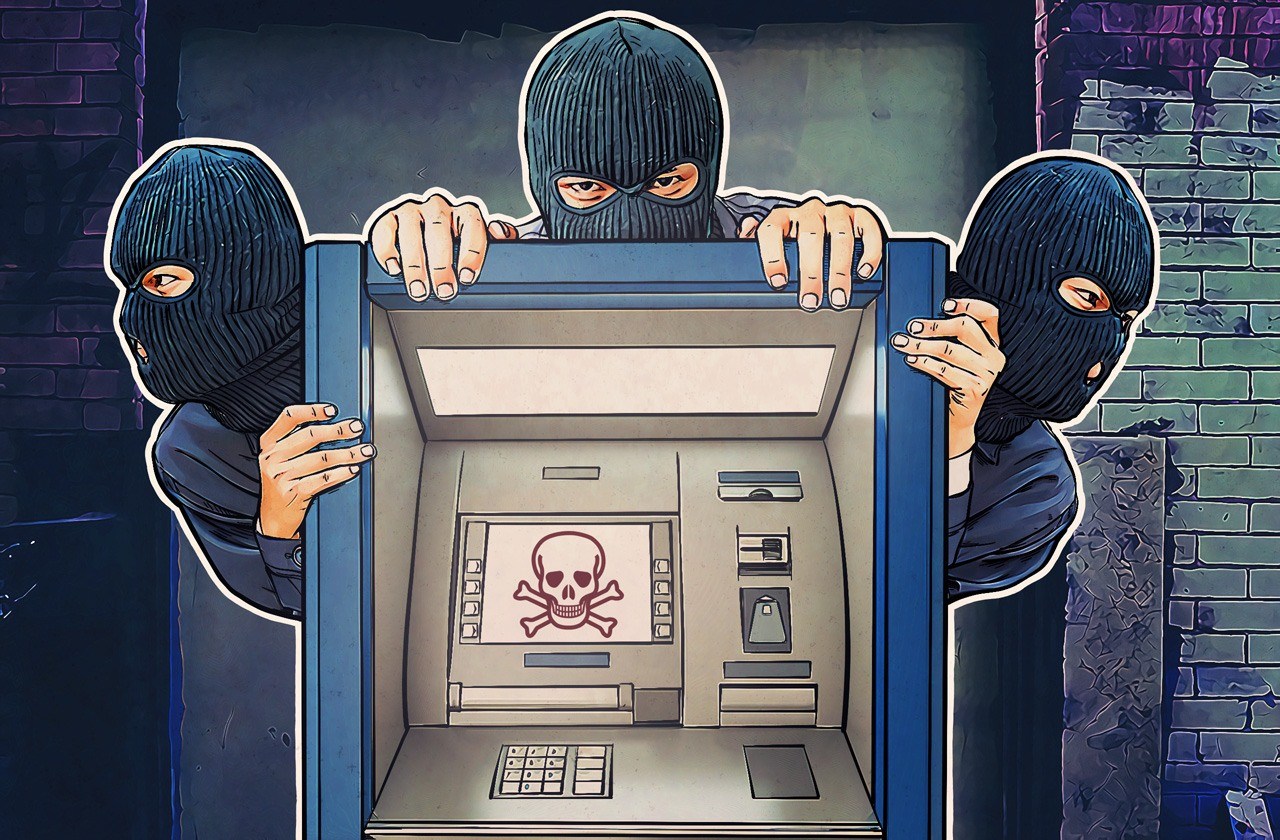
We have already told you about a number of hacker groups jackpotting money from ATMs. Now you can see it with your own eyes! Our experts shot four videos of ATM hack demos. Disclaimer: No bank was harmed in the process, and we do not recommend you try any of these methods.
atm-hack-video-1

Method 1: Fake processing center

This method requires an attacker to access a cable connecting the machine to the network. The hacker disconnects the ATM from the bank’s network and then connects it to an appliance that acts as a fake processing center.
The box is used to control the cash trays and send commands to the ATM, requesting money from the chosen tray. It’s as simple as that: The attacker can now use any card or input any PIN code, and the rogue transactions will look legitimate.

Method 2: A remote attack on several ATMs

This method involves an insider working in the target bank. The criminal purchases a key from the insider that opens the ATM chassis. The key does not give an attacker access to the cash trays, but it exposes the network cable. The hacker disconnects the ATM from the bank’s network and plugs in a special appliance that sends all of the data to their own server.
Networks connecting ATMs are often not segmented (separated for security), and ATMs themselves can be configured incorrectly. In that case, with such a device a hacker could compromise several ATMs at once, even if the malicious device is connected to only one of them.
The rest of the attack is carried out just as described in Method 1: A fake processing center is installed on the server, and the attacker gains full control over the ATMs. Using any card, a criminal can withdraw all of the cash from an ATM, regardless of the model. The only thing the ATMs need to have in common for this method to work is the protocol they use to connect to the processing center.

Method 3: The black box attack

As previously described, the attacker obtains the key to the ATM chassis and accesses it, but this time puts the machine into maintenance mode. Then the hacker plugs a so-called black box into the exposed USB port. A black box in this case is a device that allows an attacker to control the ATM’s cash trays.
While the attacker tampers with the ATM, its screen displays a service message like “Maintenance in progress” or “Out of service,” although in reality the ATM can still draw cash. Moreover, the black box can be controlled wirelessly via a smartphone. The hacker just taps a button on the screen to get the cash and then disposes of the black box to hide the evidence that the machine was compromised.

Method 4: Malware attack

There are two ways to infect a target ATM with malware: by inserting a malware-laced USB drive into the port (requiring the key to the ATM chassis) or by infecting the machine remotely, having first compromised the bank’s network.
If the target ATM is not protected against malware or does not employ whitelisting, a hacker can run malware to send commands to the ATM and make it dispense cash, repeating the attack until the cash trays are empty.
Of course, not all ATMs are hackable. The attacks described above are feasible only if something is misconfigured. It could be that the bank’s network is not segmented, or authentication is not required when the ATM’s software exchanges data with the hardware, or there is no whitelist for apps, or the network cable is easily accessible.
Unfortunately, such problems are rather common. For example, they allowed attackers infect a number of ATMs with the Tyupkin Trojan. Experts at Kaspersky Lab are always ready to help banks fix these issues: We offer consulting services and can audit a bank’s infrastructure and test it for resilience to attacks.
May 01, 2018

How to root mobile without pc || new update may 2018


nexus-5-developer-7447.jpg
Tapping into Developer mode with Android 4.4.James Martin/CNET

Rooting is the Android equivalent of jailbreaking, a means of unlocking the operating system so you can install unapproved apps, deleted unwanted bloatware, update the OS, replace the firmware, overclock (or underclock) the processor, customize anything and so on.
Of course, for the average user, this sounds like -- and can be -- a scary process. After all, "rooting" around in your smartphone's core software might seem like a recipe for disaster. One wrong move and you could end up with bricked handset.
Thankfully, there's a utility that makes rooting a one-click affair: KingoRoot. It's free and it works -- though not with all devices.
I originally tested Kingo on a Virgin Mobile Supreme and Asus Nexus 7; the process proved quick and easy. More recently, I used it to root a OnePlus One, and this time it was even easier -- because an app did all the work.
However, I couldn't get the utility to work on a Verizon Samsung Galaxy S6. Your mileage may vary, of course, and I definitely recommend checking the compatibility list before proceeding. (Even if your device isn't on it, the utility may work with it.) Here's how to get started.

The app version

The easiest way to use KingoRoot is to install the app version, which literally performs the root process with just one tap.
In fact, the only complicated part is actually getting that app onto your Android device. That's because it's not available in the Google Play Store; instead, you must download the KingoRoot APK and manually install it.


kingoroot-android-with-border.jpg
Screenshot by Rick Broida/CNET

Ideally, you'll just point your device's mobile to the KingoRoot Android page and download it directly. If that doesn't work for some reason, or you're working from your PC, download the APK and email it to yourself as an attachment. Then, on your device, open that e-mail and download that attachment.
To install it, however, you'll need to make sure your device is set to allow apps from unknown sources. In most versions of Android, that goes like this: Head to Settings, tap Security, scroll down to Unknown Sources and toggle the switch to the on position.
Now you can install KingoRoot. Then run the app, tap One Click Root, and cross your fingers. If all goes well, your device should be rooted within about 60 seconds. (On my aforementioned Galaxy S6, the process made it to 90 percent, then the phone crashed and rebooted. Luckily, no harm done.)

The desktop version

Kingo's support pages suggested I might have better luck with the Galaxy S6 if I tried the Windows version of KingoRoot. Here's that process:


kingo-root-no-adware.jpg
No adware! Leave this box unchecked and be sure to click Decline during installation.
Screenshot by Rick Broida/CNET

Step 1: Download and install KingoRoot for Windows, making sure to leave unchecked the option to "Install Yahoo powered Chromium browser" and then click Decline to prevent any other adware incursions.
Step 2: Enable USB debugging mode on your phone. If it's running Android 4.0 or 4.1, tap Settings, Developer Options, then tick the box for "USB debugging." (You may need to switch "Developer options" to On before you can do so.) On Android 4.2, tap Settings, About Phone, Developer Options, and then tick USB debugging." Then tap OK to approve the setting change.


android-enable-usb-debugging.jpg
Screenshot by Rick Broida/CNET

On Android 4.3 and later (including 5.0, though this also applies to some versions of 4.2), tap Settings, About Phone, then scroll down to Build Number. Tap it seven times, at which point you should see the message, "You are now a developer!"
With that done, tap Settings, About Phone, Developer Options, and then tick USB debugging." Then tap OK to approve the setting change.
Step 3: Run Android Root on your PC, then connect your phone via its USB sync cable. After a moment, the former should show a connection to the latter. Your device screen may show an "Allow USB debugging?" pop-up. Tick "Always allow from this computer," then tap OK.


kingo-root-start.jpg
Screenshot by Rick Broida/CNET

Step 4: Click Root, then sit back and wait while the utility does its thing. After a few minutes, my Galaxy S6 got to 70 percent, and then the phone once again crashed and rebooted. Again, your mileage can (and most likely will) vary.
And that's all there is to it. If you decide you want to reverse the process, just run Android Root again, connect your phone, then click Remove Root. (Same goes for the app version, more or less.)
Now, what should you do with your rooted phone? Hit the comments to share your favorite options.
Editor's note: This how-to was originally published on June 10, 2014 and has since been updated to reflect new ways to root your device.
May 01, 2018

Mobile password pin hack quickly || new update may 2018


How To Hack/Unlock Android Pattern Lock, PIN Password

Android Patterns and PIN locks are the most commonly used locking features which are provided by the smartphones. But sometimes, you yourself forget the pattern or the PIN which you have been using to unlock your device! Forgetting these patterns or PINs is not a big deal since, there are different methods which can help you in cracking or Unlocking these patterns or PINs, allowing you to access your device once again.
Most of the people think that once you forget your Android device Pattern Lock or PIN, you can only use it after resetting it to the factory data while, some don’t even know a single method which can bypass the security options of their smartphones. And hence, we have listed below a number of different methods which can get you out of trouble by cracking and bypassing the security options within no time!

How To Hack / Unlock / Crack Android Pattern, PIN Password Easily 

Ohh! Seems you have lost your Android’s PIN, Pattern Password? Relax! We are always there for you. Let’s Take a deep look over this article and trust me this would helps you a lot in case of losing or forgetting your android’s passwords. So let’s take a look at these different methods and the steps and precautions needed to execute these methods.

Method #1: Android Device Manager (To Unlock PIN Passwords)

(This method is specifically for PINs): This app or website allows you to change the password of your device after you have logged on to your Google account!. So try this method to unlock your Android device if there is any PIN Password.

Steps To Unlock/Hack Android PIN Password:

Step 1- Download this app or go to its website ‘google.com/android/devicemanager’ on your computer or any other device.
Step 2 – Sign in with the Google account which is logged in on your locked device.
Step 3 – Once you are logged in, you will find 3 different options which read as Ring, Lock, Erase. Go to the option which says ‘Lock’.
Step 4- Then, create a new password here and click on ‘Lock’ option which will be located at the bottom to apply this new password.
Step 5- Use this new password to unlock the device whose password you have just changed.
This is an effective method which one can use to unlock their device when you forget your PIN.

Method #2: Android SDK (To Unlock Pattern Lock)

Android SDK To disable the lock screen (This method is for pattern lock): Before you start with this method, it is important for you to know that USB debugging should be enabled on your device and it should allow your computer to connect to your device via ADB.

Steps To Unlock Pattern Password On Android:

Step 1- You can download this app from this website (Download). Install this software and extract appropriate files on your computer.
Step 2- Connect your device to your computer via USB cable.
Step 3- Go to the folder named as ‘Tools‘ from the Android SDK installation directory.
Step 4- Hold Shift and right click on the above-mentioned folder and then select ‘Open command window here’ option from the drop down box. Command prompt will then be launched.
Step 5- Here, type in ‘ADB shell rm /data/system/gesture.key‘ at the end of the command line and then hit enter.
Step 6- Disconnect your device from your computer and restart your device. You will notice that your pattern lock has been disabled.
Once you have gained access to your device, quickly change the password for your device.

Method #3: Hack/Unlock Any Android Password, PIN Easily

If none of the above methods work then, go for this method: In this method you finally resort to factory data reset. When you execute this method, you will loose all the data of your device and it will look the same as the way it looked when you first bought it!

Steps To Unlock / Hack Any Android Device Pattern, PIN, Screen Lock:

Disclaimer: Use This Method at your own Risk! This Method to unlock any android device will surely erase all the phone data (Make it New). However, We’re not responsible for any kind of loss either it by loosing SD Card data or Internal Phone Data. – iTech Hacks
Step 1- First Turn your device off.
Step 2- Press the power and volume up button simultaneously to enter the recovery mode (here on a Redmi Note 4 device). You can search for the key combinations to enter the recovery mode for your device on Google.
Step 3- Use the Volume down button to reach the option which says ‘Recovery mode’ then, press the power button to reboot your device and enter the recovery mode.
Step 4- Again use the Volume down button to reach the option ‘wipe data/factory reset’ and again press the power button to select this option.
Step 5- Once again use the Volume down button to go to the option which says ‘yes‘ and once again press the power button to select it.
Step 6- The reset process will take some time so have patience! Once the process is completed, you can setup your device as a new device now since all the data is gone.
In this process, you will loose all your data but, surely unlock your device.

Monday, April 30, 2018

April 30, 2018

How to hack computer user password quickly || New update may 2018


Greetings. This how-to on hacking Windows 7/8/10 etc. admin account passwords using Windows Magnifier is focused on adding, changing, or deleting an admin level account on a Windows 7/8/10 etc.
Maybe you forgot or lost the password to your Windows Admin account, this guide will help with that. If you are trying to hack the computer lab at school then you will need a different method
Disclaimer: This is for use on a PC that you own. Breaking into someone else's PC is considered a serious crime in most places. If you make a mistake or change something else, your Windows may become a non-boot. If so, just undo whatever you changed outside of the hack shown here, and it will back to normal. Need I say this is for Educational Purposes! You are responsible for your own thoughts and actions.
Difficulty Level: 2/10

Prerequisites:

  • Any Linux Live CD/DVD/USB with Live option (ex. Ubuntu Live, Linux Live, Kali, etc.).
  • Ability to use said Linux CD/DVD/USB.
  • Basic understanding of Windows file structure. i.e. can navigate.
  • The desire to modify user account(s) on said Windows boxen.
  • Physical access to said Windows box.
  • Ability to use BIOS if needed.
  • Ability to use command line and basic understanding of net user commands.

Things to Note:

  • If you are trying to hack a coworker / boss / job / school / customer / friend / spouse's account, you are screwed because they won't be able to use the old password anymore—try explaining that.
  • This hack works on Windows 7, 8, 10 and basically any that have "Ease of Access".
  • Servers require "net user Administrator blabla /domain".
  • This will destroy all data encrypted with EFS on the account if it's enabled (you have to enable it first).
  • If you do not undo the hack after you change the password, you will get the magnifier every time you use cmd or nothing at all.
  • If you modify or delete any other files in Sys32, your next boot up is doomed (maybe).
  • Scared? You should be. Now let's get hacking.

Step 1Boot Some Flavor of Linux Live CD

Insert CD/DVD into drive and reboot the machine. Start your Live DVD. You may need to go into the BIOS screen and change the boot-up order to CD/DVD drive first, HDD second.

Step 2Navigate to Sys32

Use the file browser in your Linux environment, navigate to %windir%/system32/. You may have to right-click and mount the Windows partition/drive first or use the NTFS-3G command.

Step 3Rename Magnify.exe

Find and rename magnify.exe (Magnifier file) to magnify.old.

Step 4Rename cmd.exe

Find and rename cmd.exe to magnify.exe.

Step 5Shut Down Linux & Reboot Windows

Logout, remove DVD, and reboot into Windows.

Step 6Get CMD Prompt Modify Accounts

When Windows reboots, click on the ease of access button in the bottom left corner.
Click magnify and hit apply. Ta da. You have a system level command prompt. At this point is where we will only change the Admin password and not any of the 1000 other things that could be done at this point!
Tip: You can right-click on cmd.exe and click run as administrator inside of Windows for escalated privileges. To edit files, it would never be allowed at basic admin level (caution).
Image via whstatic.com
(Hacked system level command prompt. -Cx2H)
As the photo above shows, typenet user to get a list of accounts. To the point type: net user administrator *

Your Options (Choose One That Applies):

Change Password:
net user username new_password
When you do so, the password changes without prompting you again.
Add an account:
net user username password /add
Tip: If your username has a space, like John Doe, use quotes like "John Doe".
Admin that:
net localgroup administrators username /add
Delete that:
net user username /delete
Remote Desktop Users Group: (just in case)
net localgroup Remote Desktop Users UserLoginName /add
Net User Syntax Reference:
net user commands
Domain i.e. Servers:
net user for domain

Step 7Reboot Linux & Fix magnfiy.exe

Now you should insert your Linux Live CD/DVD and rename the files back to original names or you will have issues later.
  1. Repeat Step 1
  2. Repeat Step 2
  3. Rename magnify.exe back to cmd.exe
  4. Rename magnify.old back to magnify.exe
  5. Log out, take out CD/DVD USB, reboot into Windows